# Your RTL-SDR isn’t broken: the first-signal setup guide for when nothing works
*You plugged it in. The software opened. And the screen is just noise, or nothing at all. Here’s every place it goes wrong on the first try, and how to get past each one.*
By The Long Frequency · June 2026 · 8 min read
There’s a very specific kind of disappointment that hits about ten minutes after your first RTL-SDR dongle arrives.
You plugged it in. You downloaded the software everyone recommended. You opened it, hit the play button, and… nothing. A flat line. Or a wall of static that doesn’t change no matter where you tune. Or the software flatly refuses to see the dongle at all.
I want to tell you something before you go leave a one-star review or convince yourself you bought a dud: your dongle is almost certainly fine. Nearly every “my RTL-SDR doesn’t work” problem comes down to one of about five things, and every one of them is fixable in a few minutes once you know what you’re looking at. This is the guide I wish I’d had on day one.
If you haven’t bought a dongle yet, or you’re not sure which software to run once this is working, start with [the beginner’s guide to RTL-SDR](https://thelongfrequency.com/the-beginners-guide-to-rtl-sdr-what-you-can-hear-for-40-and-a-usb-dongle/) and [the SDR software comparison](https://thelongfrequency.com/sdr-vs-sdr-vs-gqrx-which-software-should-you-use-with-your-rtl-sdr/). This article is for the part in between, where you have the hardware and the software but no signal yet.
## First, the one mistake that causes most of them
If you bought the current RTL-SDR Blog V4, which is the one most people are buying in 2026, there’s a single fact that explains the majority of “it doesn’t work” reports:
**The V4 needs its own drivers. The generic ones won’t do.**
The V4’s circuitry changed enough that the old, standard RTL-SDR drivers don’t drive it correctly. Run it on the wrong drivers and you get exactly the symptoms that make people think the unit is broken: no signals at all, signals showing up at the wrong frequency, or a spectrum that looks corrupted. It isn’t broken. It’s just being spoken to in the wrong language.
So before you troubleshoot anything else, make sure you’ve installed the current RTL-SDR Blog driver package, not a generic libusb driver and not whatever an old download happened to bundle. The latest SDR# install script pulls the correct RTL-SDR Blog drivers automatically, but only the recent versions do. If you grabbed an older build of your software, it won’t, and you’ll need to install the blog driver package yourself from the official RTL-SDR site.
Get this one thing right and half the problems below never happen.
## The five places it actually breaks
### 1. You skipped the driver step (or did it in the wrong order)
This is the big one, and it’s worth being precise because even the official sources phrase it confusingly.
On Windows, there are two related but different pieces: the **WinUSB driver** that lets your computer talk to the dongle as an SDR device at all (this is what the tool called **Zadig** installs), and the **RTL-SDR Blog drivers** that make the V4 specifically behave. The standard path is to run your software’s driver install script first, then use Zadig once to point Windows at the dongle with the WinUSB driver.
The single most important warning anyone can give you about Zadig: **do not click around in it randomly.** Zadig can install drivers for any USB device on your machine. People who click the wrong dropdown have overwritten the drivers for their mouse, keyboard, or sound card. When you run Zadig, you are selecting the RTL-SDR interface specifically, usually shown as “Bulk-In, Interface (Interface 0)”, and nothing else. Select that, install WinUSB to it, and close the program. One device, one driver, done.
You only need to do this once per dongle, per computer.
### 2. Windows Memory Integrity is blocking the driver
This one is newer, it’s nasty, and most older guides don’t mention it because it didn’t used to exist.
Recent Windows updates added a security feature called **Memory Integrity** (under Core Isolation). It is fundamentally incompatible with how WinUSB and Zadig work. With it on, Windows flags the WinUSB driver as incompatible immediately after installation, and your dongle stays invisible no matter how carefully you followed the steps.
The fix: go to **Settings → Privacy & security → Windows Security → Device security → Core isolation details**, and toggle **Memory integrity** off. Then reinstall the driver with Zadig. (You can weigh turning it back on later, but the driver needs it off to install.)
If you’re on an updated Windows 11 machine and your setup mysteriously fails despite following every step, this is very likely your culprit. It cost a lot of people a frustrated evening before word got around.
### 3. The dongle is in the wrong USB port
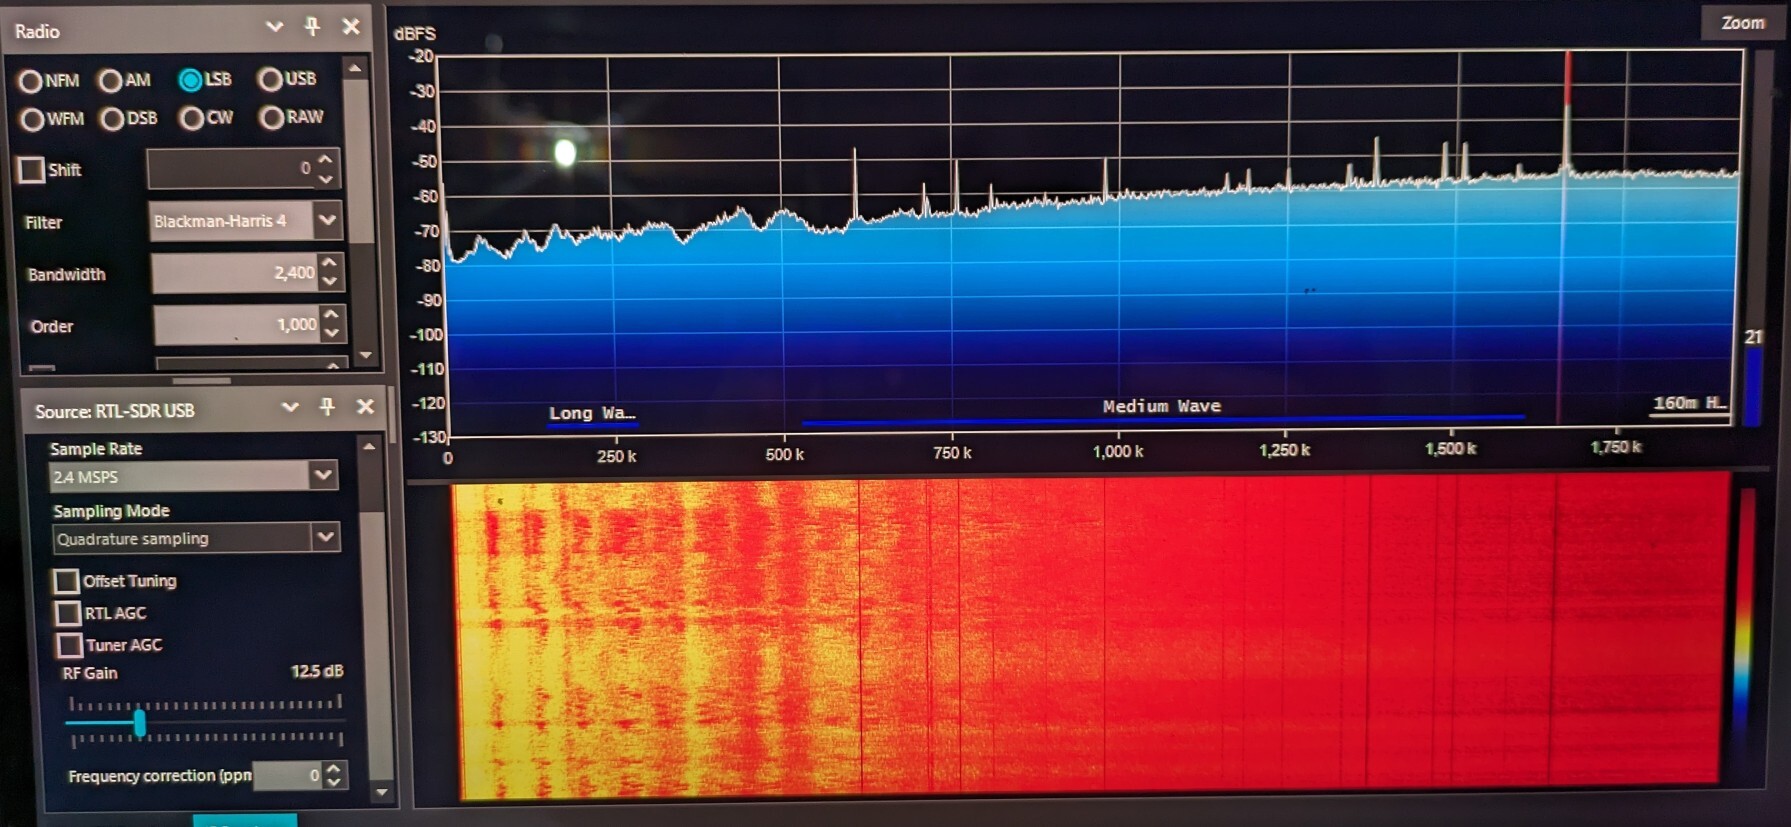
If you’re seeing **weird wavy lines across the whole spectrum and no real signals**, the official troubleshooting answer is that your USB port is underpowering the dongle. Move it to a different port, or use a powered hub, and the wavy lines usually vanish.
While you’re moving it, two rules worth following:
– **Prefer a USB 2.0 port over USB 3.0.** USB 3.0 ports are known to radiate RF noise that raises your noise floor, especially down in the HF range where the weak, interesting signals live.
– **Use a short, shielded USB extension cable** to get the dongle away from the computer case itself. Desktops are noisy neighbors. This isn’t optional polish; it can be the difference between hearing something and hearing mud.
That second point matters enough that it’s worth owning a decent shielded extension on day one rather than fighting your noise floor later.
### 4. Your SDR software can’t see the dongle
If the program opens but says it can’t find a device, the answer is almost always back in step 1: the WinUSB driver didn’t take. Reopen Zadig and confirm WinUSB is installed for the correct RTL-SDR interface. If it shows something else, or shows nothing, that’s your problem.
One sanity check that saves a lot of guessing: get the dongle working in **one** simple SDR program before you install three of them. If you bounce between SDR#, SDR++, and GQRX all at once on a fresh setup, you can’t tell whether a failure is the driver or just that one app’s quirks. Prove the hardware works in a single program first, then go compare software. (When you’re ready for that, [the comparison piece](https://thelongfrequency.com/sdr-vs-sdr-vs-gqrx-which-software-should-you-use-with-your-rtl-sdr/) walks through which one fits your setup.)
### 5. Your gain is at zero and your antenna is in a drawer
Two beginner classics, grouped because they’re both “the setup is fine, the settings aren’t”:
– **Gain.** Many programs default RTL-SDR gain to zero or automatic, and on some setups that means you’re effectively listening through a closed door. Find the gain control and bring it up manually until signals appear and the noise floor starts to rise, then back off slightly. Manual gain is one of the biggest “oh, there it is” moments for new users.
– **Antenna.** The little telescoping antennas that come in the kits work, but they have to be connected and extended, and they care about orientation. For most signals, stand the dipole up in a V or run it horizontal depending on what you’re chasing, and get it near a window. A dongle with no antenna attached will show you exactly the flat, dead line that makes people think it’s broken.
## Your first real signal: the test that proves it all works
Once the driver’s in and the antenna’s connected, don’t go hunting for anything exotic. Tune straight to your local **FM broadcast band** (88 to 108 MHz). Those stations are strong, everywhere, and unmistakable. If you see fat signal spikes light up across the spectrum display and you can demodulate a station into actual audio, congratulations: every part of your chain works. Driver, dongle, antenna, software, audio. From there, everything else is just tuning.
That FM test is the single best diagnostic you have. If FM works and something else doesn’t, the problem is never your setup. It’s antenna, frequency, or mode for that specific signal.
## When you’re ready to actually hear something interesting
Here’s my honest take on the kit dipole, and it’s the thing I wish more guides said out loud: it will prove your setup works. It will pull in local FM and the strongest signals in your area, and that first FM test is genuinely what it’s best at. Beyond that, it stopped impressing me fast. It’s fine for what it costs, but what it costs would be better spent on a real antenna. If I were starting over, I’d buy the dongle on its own and put the antenna money toward one of the two upgrades below from day one.
**The dongle.** The RTL-SDR Blog V4 is still the right default for most people:
– [RTL-SDR Blog V4 dongle (~$40)](https://amzn.to/4cg0oED)
If budget is tight and you just want the cheapest way to confirm everything works before spending more, the kit dipole is that, and nothing more:
– [RTL-SDR Blog multipurpose dipole antenna kit (~$20)](https://amzn.to/4dIFlgr)
If you’d rather have a bundle with three included antennas, the Nooelec is a solid alternative:
– [Nooelec NESDR SMArt v5 bundle (~$45)](https://amzn.to/3PV35nT)
**The antenna, where the real gains hide.** A better antenna changes what you can hear far more than a better dongle does. Which one depends on which half of the radio spectrum you’re chasing.
For VHF and UHF, the stuff most people buy an RTL-SDR to hear in the first place (airband, weather, public safety, ham repeaters, everything from about 25 MHz up), the long-standing community answer is a **discone**. The shape looks odd, a disc over a cone, but the geometry is the point: one antenna covering roughly 25 to 1300 MHz with no tuning, which is nearly the dongle’s entire range. The specific model that’s been the default scanner base antenna for over fifteen years is the **Tram 1411**. It typically runs around $80, and it performs within a dB or two of the premium Diamond D130J that costs noticeably more.
Now the part nobody tells you, and it’s exactly why this antenna gets ordered and sent back by people who didn’t know what they were buying. This is a real base antenna, about 44 inches tall, that you assemble and mount on a mast or pole outside. It is not a desk gadget. And it does not come with a cable: the base has an SO-239 connector, your RTL-SDR has a small SMA jack, and nothing in the box bridges the two.
The good news is the missing pieces are cheap, and I can tell you exactly what works because it’s what I run. A 50 foot RG-58 coax assembly costs about $20, and a small coax adapter kit handles the SO-239-to-SMA conversion along with just about every other connector mismatch this hobby will ever throw at you:
– [50 ft RG-58 coax (~$20)](https://amzn.to/4v9Jj7M)
– [Coax adapter kit](https://amzn.to/4431AYf)
One honest note before someone in a forum brings it up: RG-58 is budget coax, and it loses more signal than premium cable, with the loss growing as you go up in frequency and out in length. For a receive only setup listening to FM, airband, and VHF over a run like this, that loss is real but entirely livable, and it’s the proportionate choice next to a $40 dongle. If you’re planning a much longer run or chasing weak signals up past 800 MHz, that’s when stepping up to better cable starts earning its price. Everyone else: the $20 cable is fine, and the money you save buys the adapter kit.
Plan where the mast goes before you order and this antenna will not disappoint you. Skip the homework and you’ll be the next return.
– [Tram 1411 discone antenna (~$80)](https://www.amazon.com/dp/B00QVNI1V0)
For HF and shortwave, the low end of the spectrum where distant broadcasters and ham SSB live, a discone won’t help you. The tool there is an **active magnetic loop**: loops respond to the magnetic component of a radio wave, which lets them reject a huge amount of the local electrical noise that wire antennas soak up, and in 2026 every neighborhood is full of that noise. I just added an **MLA-30+ active loop** to my own bench for exactly this reason. It’s the standard budget recommendation for pulling weak HF and shortwave signals out of a noisy suburb.
– [MLA-30+ active loop antenna](https://amzn.to/3QvJxXA)
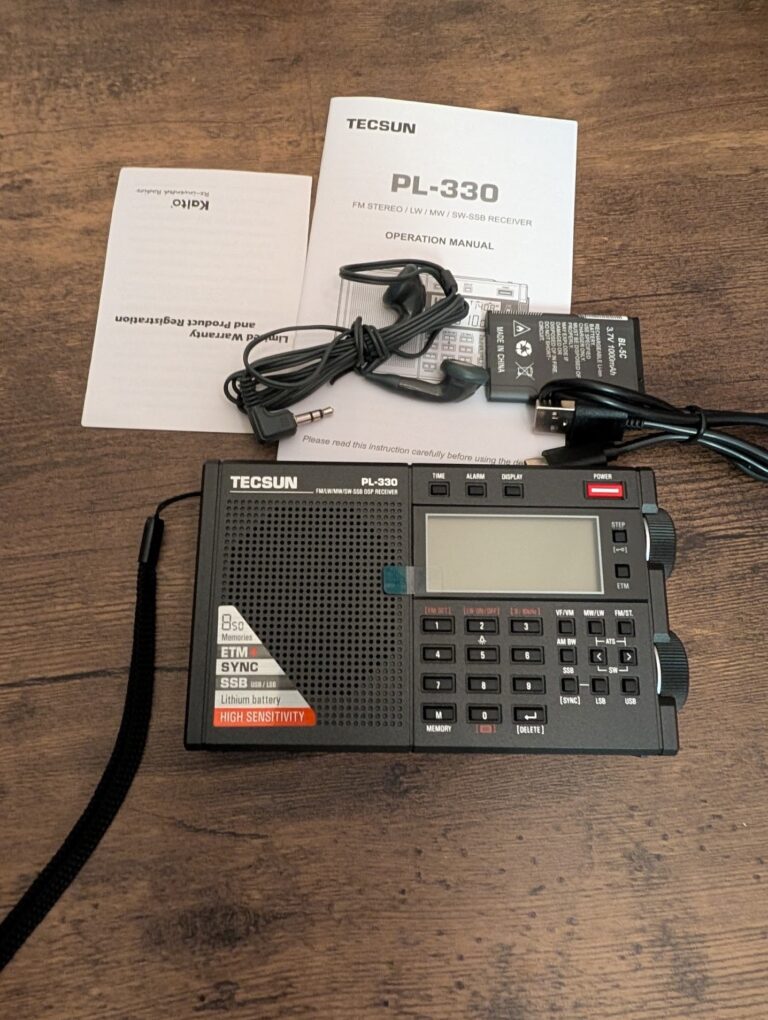
A loop like that is also the bridge from “RTL-SDR on a computer” into portable shortwave listening, which is a whole other rabbit hole I’m climbing down right now with a Tecsun PL-330 and that same loop. More on that soon.
## The short version
If your RTL-SDR “doesn’t work,” walk this list before you blame the hardware:
1. Install the correct **V4 drivers**. Generic ones won’t drive a V4.
2. Use **Zadig once**, carefully, on the RTL-SDR interface only. Never click around.
3. Turn off **Memory Integrity** if Windows keeps rejecting the driver.
4. Move to a **different USB port** (prefer 2.0) with a **shielded extension cable** if you see wavy lines.
5. Bring up the **gain** and connect the **antenna**, then prove it on **local FM**.
Nine times out of ten, one of those five is the whole story. Your dongle is fine. You just hadn’t met it properly yet.
There’s a lot up there. Go find it.
*This article contains affiliate links. If you purchase through them I earn a small commission at no extra cost to you.*